Woodworking plans · Woodworking
Shoe rack plans
A slatted shoe rack: two sides, tiers of two slats pocket-screwed between them, a top to sit things on. Free, any size: open it in uCAD, change the sizes or the lumber you can buy, or just tell its AI what you need, and the parts, the screws and the cut list follow.
Level: easy · Time: about 2 h · Shown: Shoe rack 800 mm
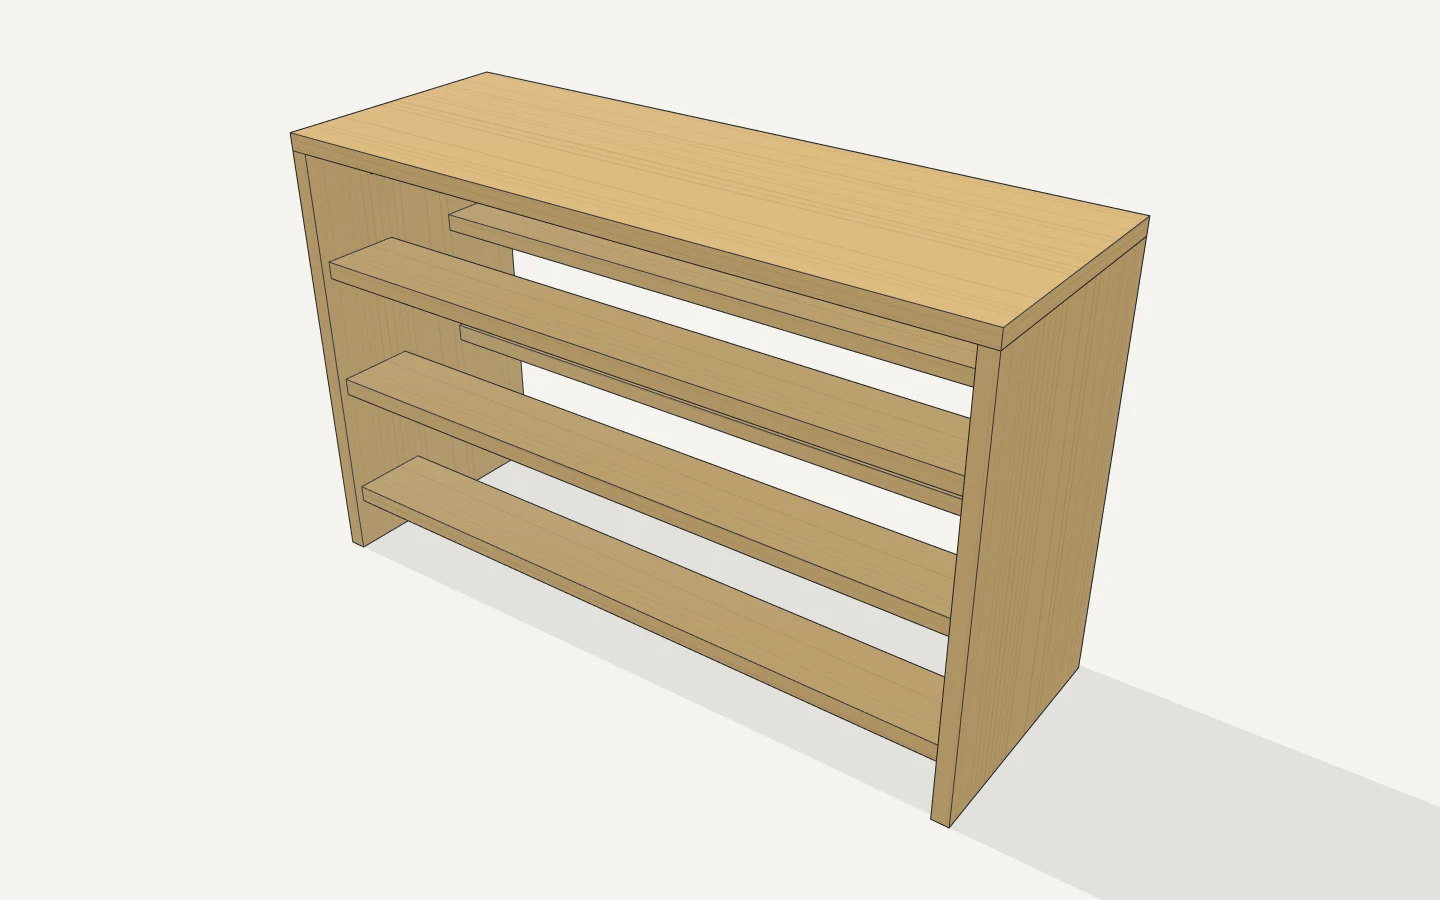
Make it your size
- Width: 500 to 1200 mm (800 in the cut list below)
- Depth: 230 to 286 mm (286 in the cut list below)
- Height: 300 to 900 mm (500 in the cut list below)
- Tiers: 2 to 5 (3 in the cut list below)
- Boards: 19 mm, 18 mm, 20 mm
In uCAD, change any of these in the part's panel: the model is built again, joints and all.
What you need
Tools: saw, drill, pocket-hole jig (set to the boards' thickness), pocket screws (the lengths in the cut list), wood glue, clamps, sander.
Fixings (and wood glue):
- pocket screw 32 mm: 28
Cut list
At the sizes shown above. Letters match the drawings below.
| Part | Qty | Length | Width | Thickness | |
|---|---|---|---|---|---|
| A | top | 1 | 800 mm 31 1/2" | 286 mm 11 1/4" | 19 mm 3/4" |
| B | side | 2 | 481 mm 18 15/16" | 286 mm 11 1/4" | 19 mm 3/4" |
| C | slat | 6 | 762 mm 30" | 89 mm 3 1/2" | 19 mm 3/4" |
Lumber to buy
US lumber, 8, 10 and 12 ft boards, 4 × 8 ft sheets:
- 1x12: 1 × 8 ft
- 1x4: 2 × 8 ft
In millimetres
Boards 2400 and 3000 mm long, 2440 × 1220 mm sheets:
- 19 × 286 mm: 1 × 2400 mm
- 19 × 89 mm: 2 × 2400 mm
Your store sells other lengths or sections? Put in yours in uCAD's cut list: what to buy and how to cut it are worked out again.
How to cut it
From US lumber, a 1/8" saw kerf between the pieces; the hatched ends are left over.
1x12
1x4
Build it step by step
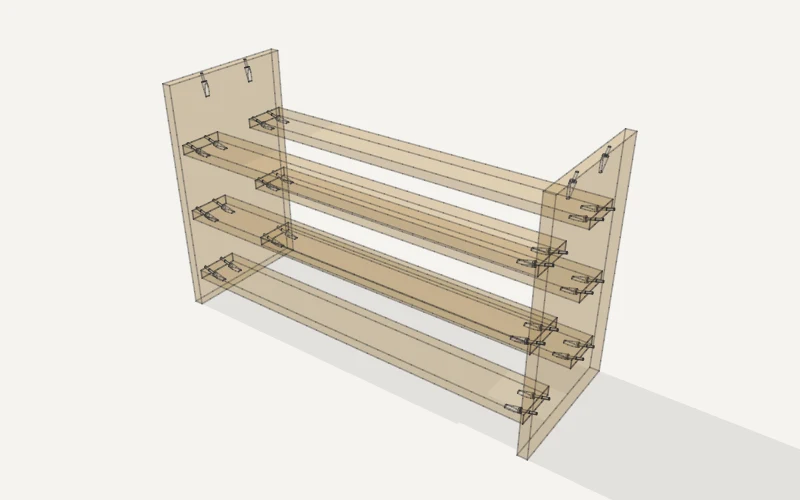
The sides and the slats: two pocket holes at each end of every slat, on its underside; mark the tiers on the sides, glue and screw the slats between them.
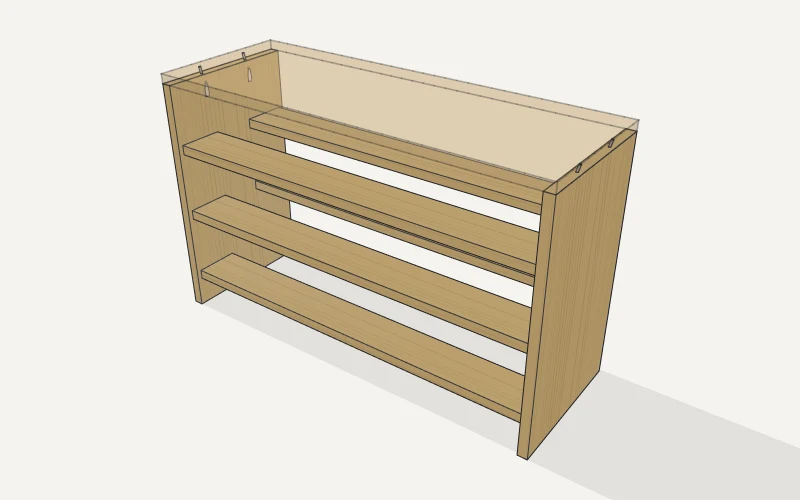
The top: two pocket holes along the top edge of each side, on its inside face; set the top on, flush at the back, and screw up into it.
The pocket holes: a pocket-hole jig set to the board's thickness. In uCAD, Build steps plays these one by one on the model, the wood see-through so you can see where every screw goes.
Questions
Can I change the size?
Yes: open it in uCAD and type the sizes you need in its panel. The parts, the joints, the screw lengths and the cut list follow.
My store doesn't sell 1x12. What then?
Choose what yours sells in the plan's panel (19 mm, 18 mm, 20 mm): it's built again for that lumber, with screws to match.
Is it free?
The plan, uCAD and the cut list are free, no sign-up.
Tell us what you need. We’ll do it.
uCAD’s AI draws it in real sizes, and changes it when you ask.
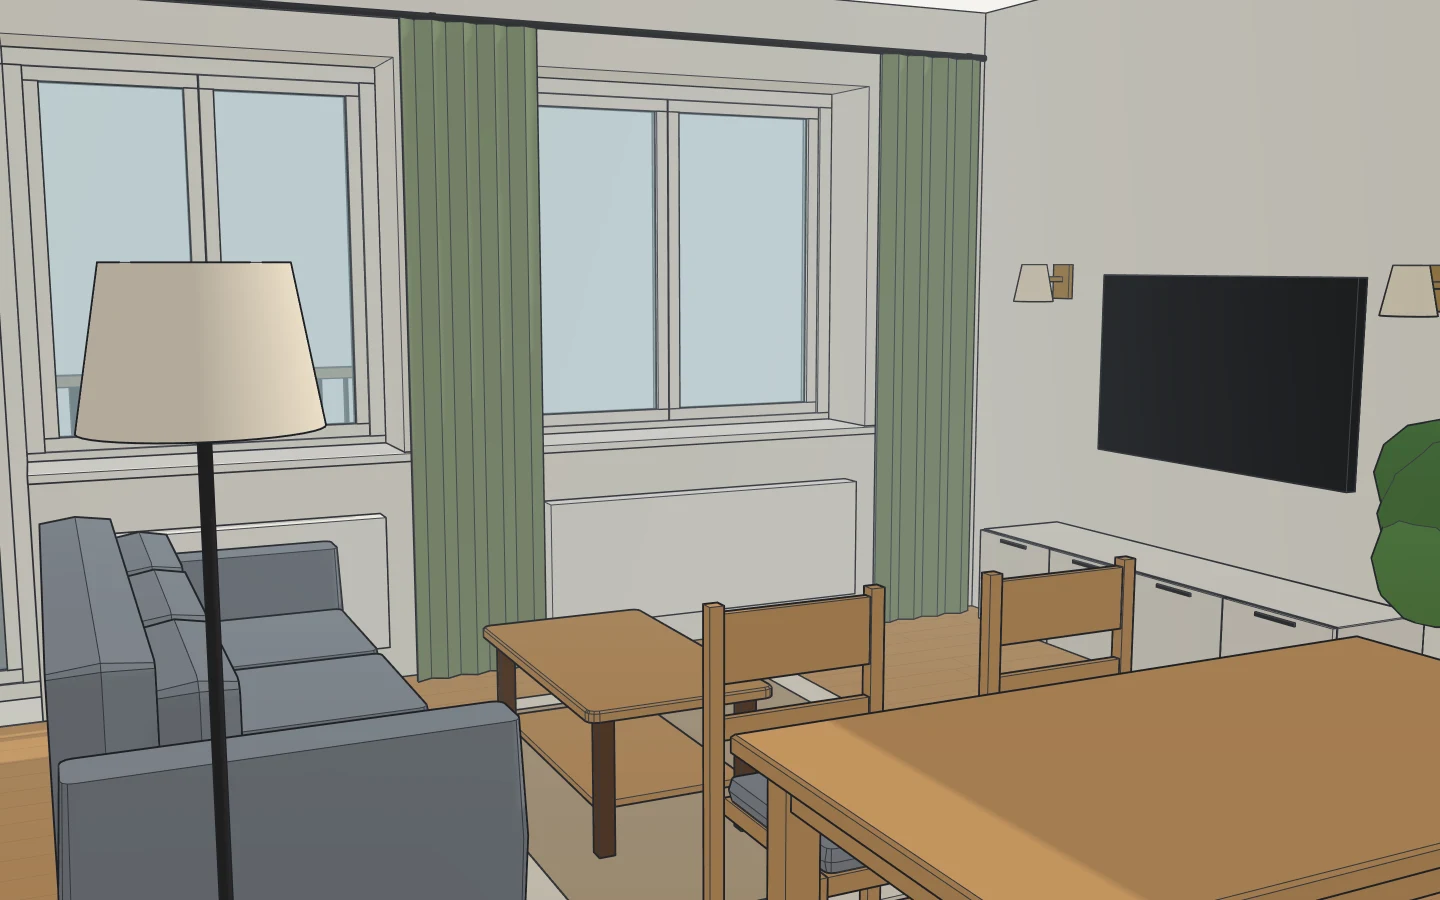
Can’t make the furniture fit?
We’ll lay it out for you, every piece at its real size.
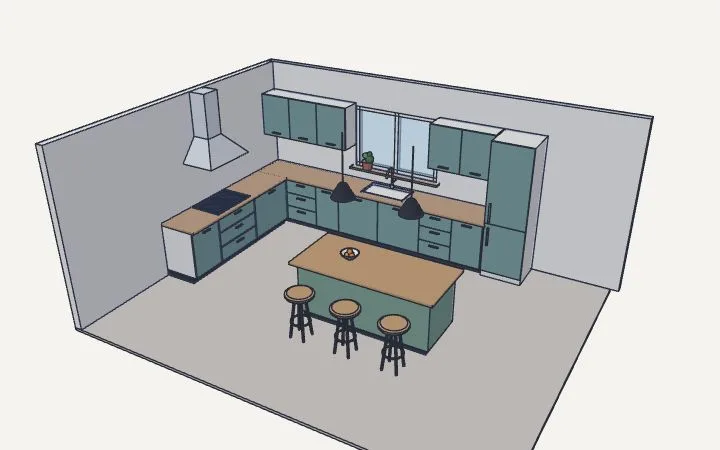
Want a new kitchen?
We’ll design it: the units, the worktop, the appliances, to your walls.
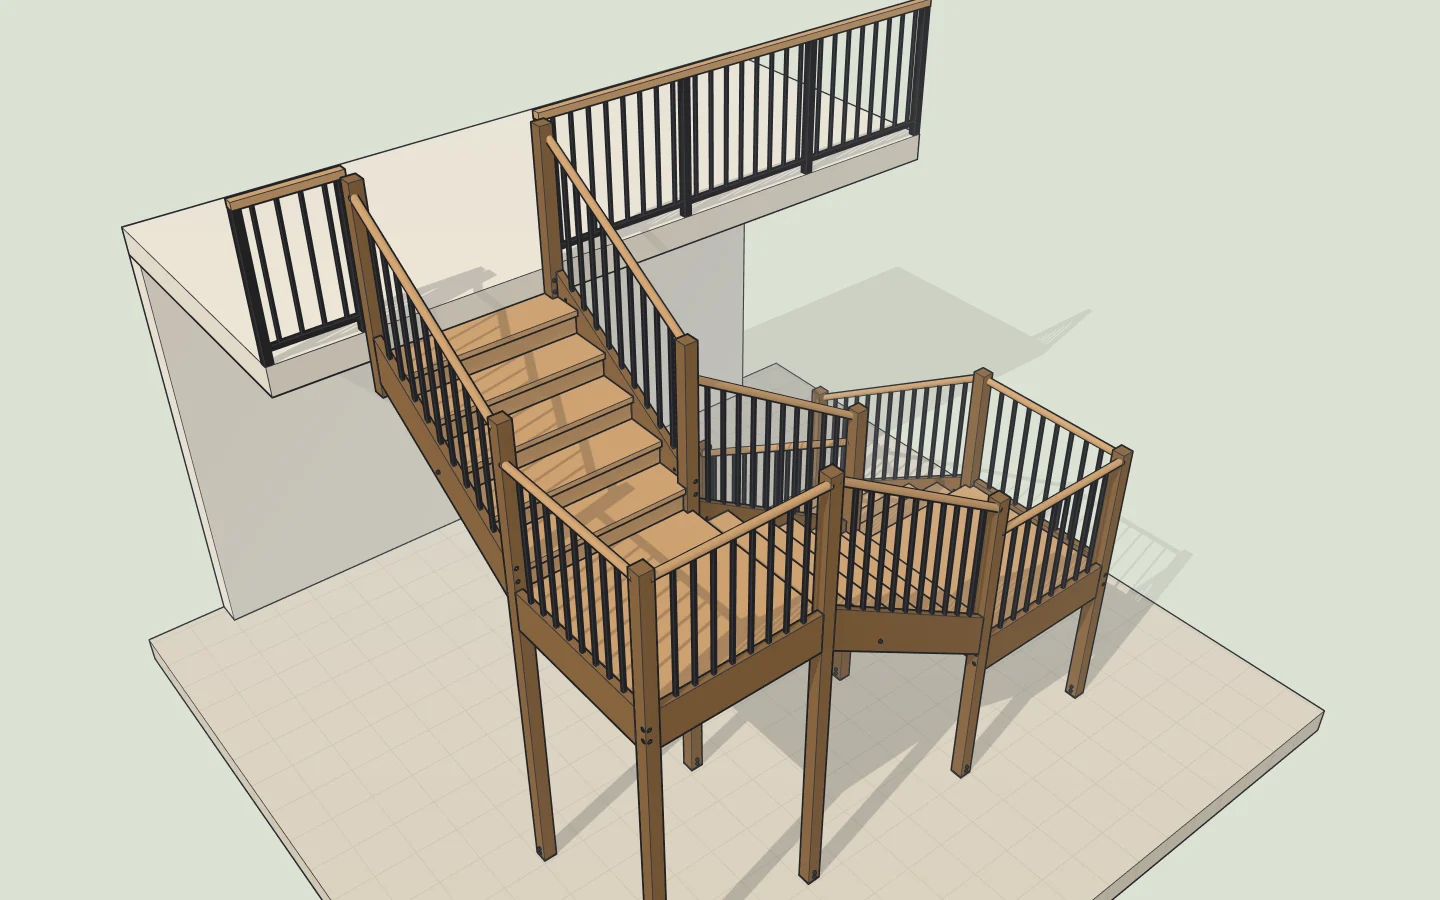
Not sure the staircase will fit?
It will: we work out the steps from your floor height and show you.
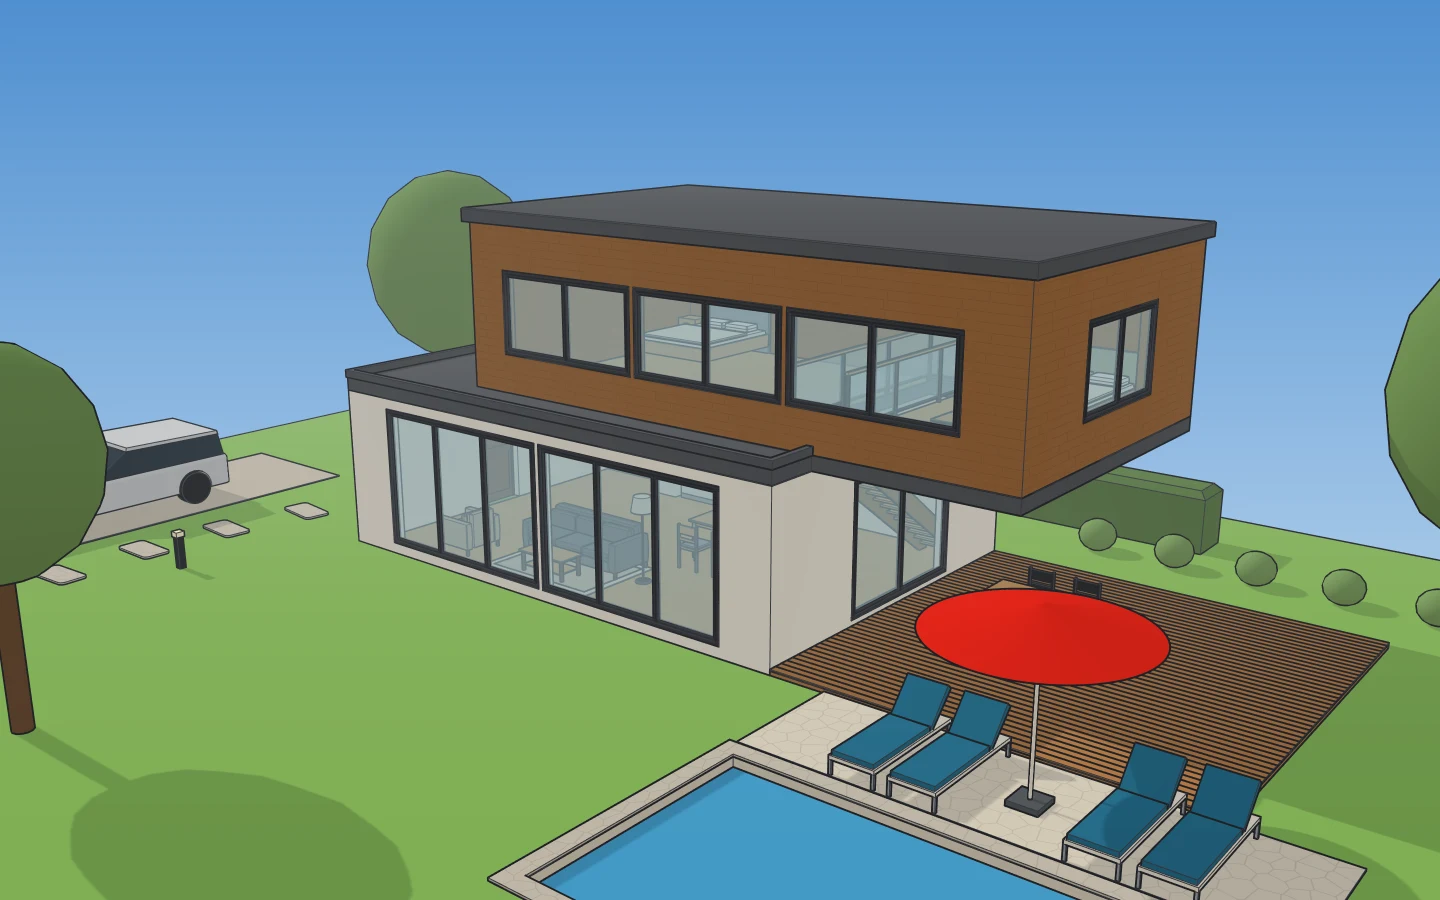
Love a house, a garden or a room you saw?
Show us the photo: we’ll build one like it, to real sizes.
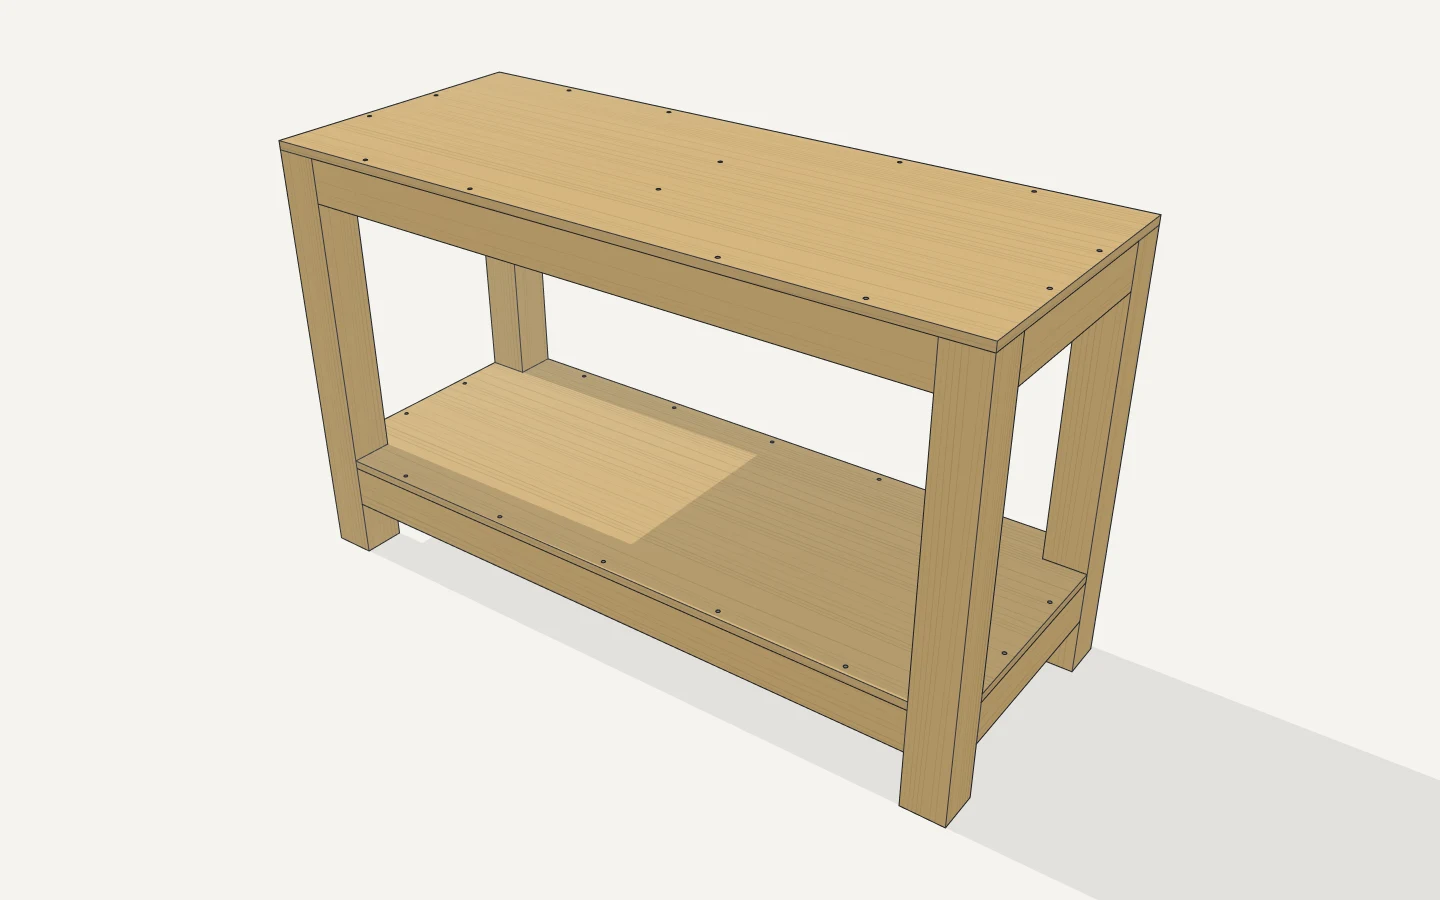
Building a shelf, a bench, a workbench?
You get the cut list, what to buy and how to put it together.
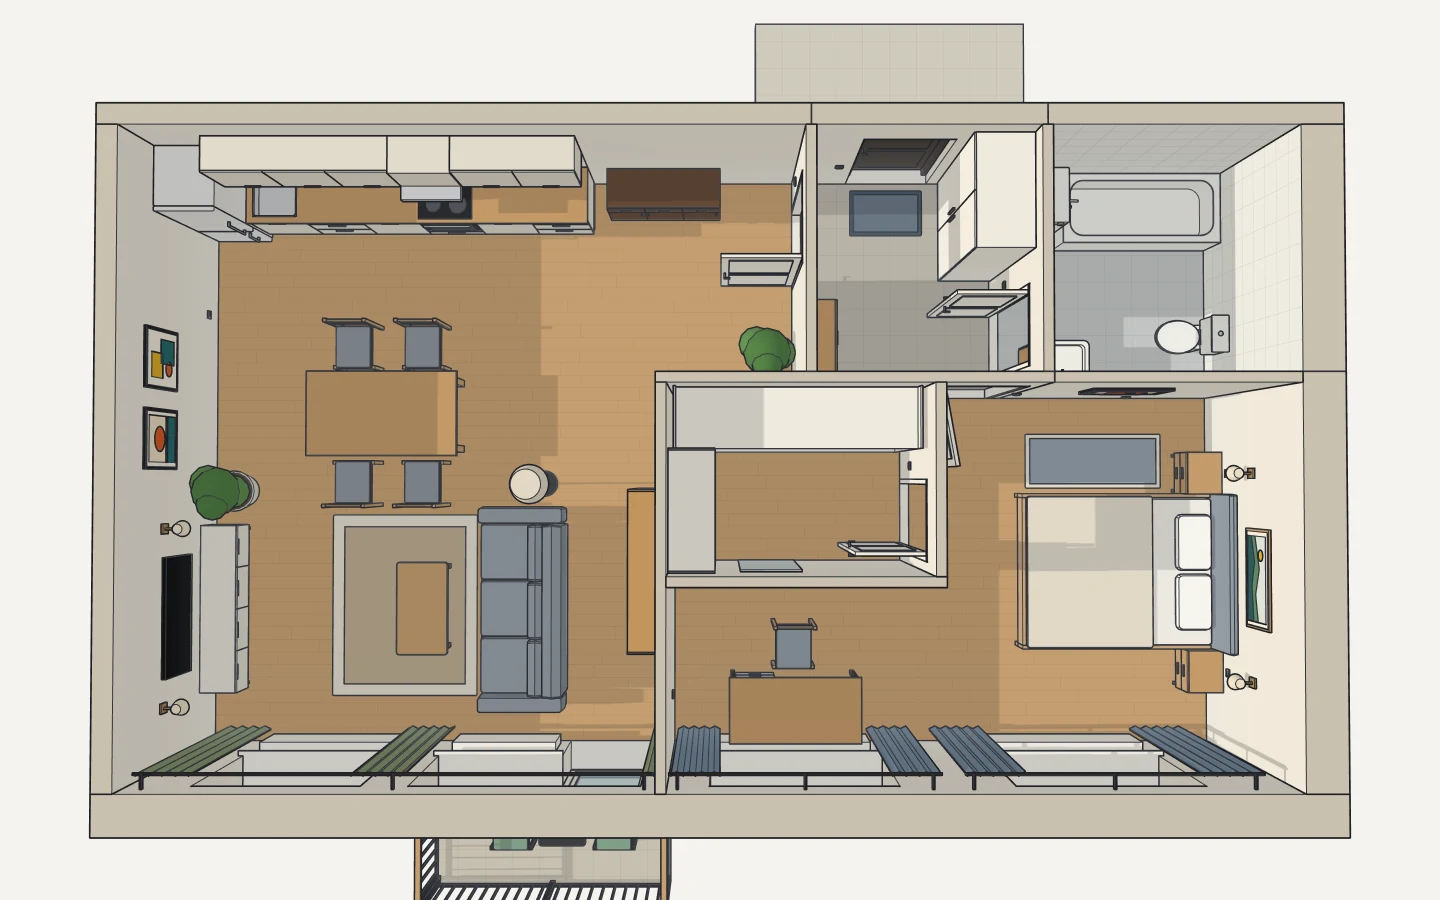
Need a floor plan?
Tell us the rooms: we’ll draw the flat or the house, walls, doors and windows.
You say it, we draw it
No CAD to learn: write what you need the way you’d tell a builder or a designer.
Not right? Say so
“Move the sofa to the window.” “A metre wider.” Every change can be undone; nothing can break.
Free to try
Nothing to install: it opens in your browser. A new account tries the AI free.
More plans
Build it your size
Open the plan, change the sizes, print the cut list.